
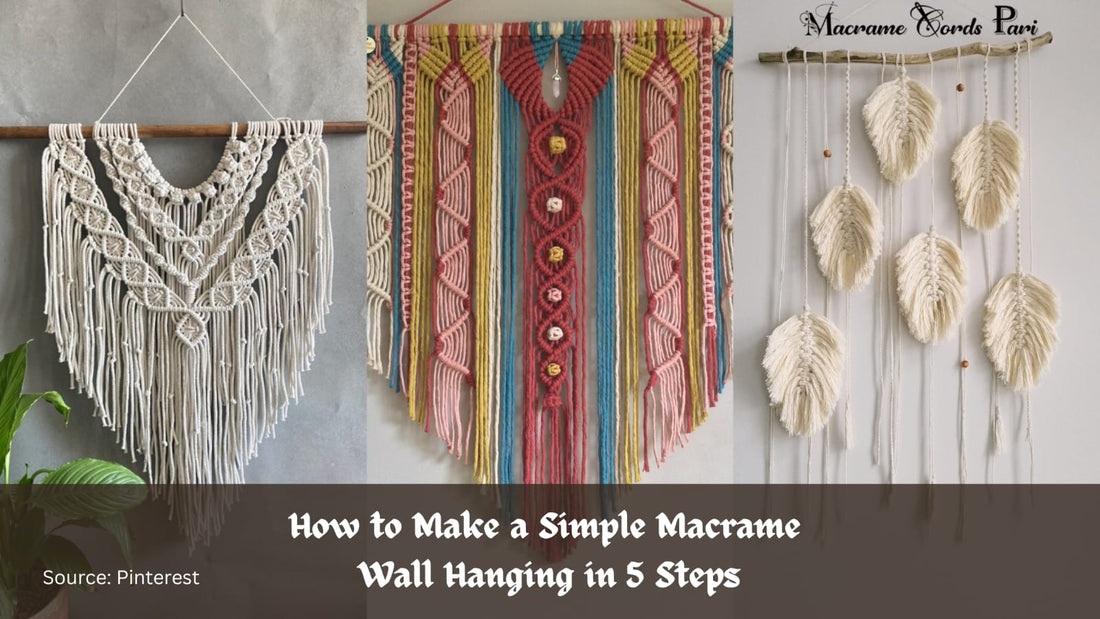
How to Make a Simple Macrame Wall Hanging in 5 Steps
Share
Between the knot and the thread, a story unfolds like a historical piece. It is not crafted in haste but with a full heart!
The lively yet wonderful pattern on the wall is not just a craft but an everlasting bundle of joy. The first piece of macrame art is always inspiring and breathtaking. From selecting the right set of cords to the right measurements, everything solely depends on the choice of the project.
Before the beginning of any task, it always feels like “I wish I could make that.” So, in the case of macrame, it is about being able to make it without any doubt. Macrame cords embody the creativity, charm, and calmness that transform the soulful home decor.
In this blog, you will get a simple yet easy tutorial for making a macrame wall hanging in just 5 steps. By the end of your read, you will have one wall hanging created to adorn your home space significantly. Let us turn silent walls into a timeless allure of long-lasting knots.
What are the basic requirements for making simple macrame wall hangings?
Before learning the steps for making macrame wall hangings, you need to understand the basic requirements for it. Here are the major requirements for making wall hangings:
- Macrame cord: The artisan can use macrame cords of thickness 3mm to 4mm. The choice of cord varied according to the creator. The single-stranded or twisted cords from Macrame Cords Pari are best.
- Wooden Stick: The smooth and sturdy wooden stick or dowel is necessary for creating a wall hanging.
- Measuring Tape
- Scissors
-
A comb for feathers
In addition, the artist should choose the neutral or pastel coloured tones of cords. At Macrame Cords Pari, you can get more than 40 beautiful shades of cords for bringing imagination to life.
Here are the 5 Simple Steps:
Step 1: Measure and cut the Cords as required
Every wall hanging creation starts with length, literally. The artist needs to cut the cords that would be 4 to 6 times of final length of the wall hanging. For instance, if you want to create 1 feet long wall hanging, then it becomes your responsibility to cut cords around 4 to 5 feet each. If you are a beginner, then start with 6 to 8 cords, each measuring 60 to 70 inches of wall hanging.
Step 2: Attach the Cords to the Wooden Stick
Once you have cut the cords, it is time to attach them to the wooden dowel. You can fortify it by using the Lark’s Head Knot. You can do it by folding each cord in half. Then slip the loop under the dowel. Afterwards, pull the two loose ends through the loop and tighten them. Repeat for each cord until all are attached and spaced evenly across the dowel. By this time wall hanging started taking shape.
Step 3: Start Knotting
When the above steps are completed, it is time to give your finger a motion of creativity and design. One of the easiest and most beautiful knots is the Square Knot. It primarily looks structured and textured instantly. To make a Square knot, use four cords initially. In which the outer two cords are working cords, and the inner two cords are fillers.
Now, take the left working cord and cross it over the filler cords under the right working cords. Afterwards, take the right working cords and bring them under the filler cords. Then the loop is made by the left. Pull the cords tightly, and then your first half is created. When this is all done, you need to repeat in reverse, right over, left under, and then pull tightly.
Then, continue across the complete square knot. Leaving about 1 to 2 inches between each knot for spacing. You can use the Macrame Cords Pari’s twisted cords for crisp square knots.
Step 4: Add Pattern with Spiral and Half Hitched Knots
If you want to add extra flair to the macrame wall hanging, then do not forget to add spiral and half-hitched knots for macrame wall hanging some movement and dimension.
Spiral Knot: It is just the repeated half-square knot on one side. You should keep looping the same way, and then the cords will naturally twist into a spiral.
Half Hitch Knot: The Half hitch knot is great for wavy lines and arcs. You need to wrap one cord over and around the next. Repeating it in the same direction to form curves will give a unique shape to the wall hanging.
In addition, you can mix these patterns between square knot rows to create an eye-catching design. You can add asymmetry or zig-zags. Later, it becomes your home canvas and you can play with it feasibly.
Step 5: Finish with Confidence
Once the artist finds love in the knotting and pattern, then there is time to tie it all together for completion of the task. For finishing the macrame project, you can use a gathering knot to wrap and secure cords at the bottom. It will offer a clear and bundled finish.
Later, you can trim the cords into the shape you want. Either V-shaped or U-shaped, or straight, whichever you feel aligned. You should use the sharp scissors for clean edges. Afterwards, comb the cords to give a feathery effect to the wall hanging.
Your Wall Hanging is All Set to Allure Your Home Space
When you created a wall hanging with us, it perfectly showcases that you have the patience and creative style to adore your home space. In five steps, you have turned a bundle of cords into a piece that nurtures your home like never before. This is the beauty of macrame for you.
So, if you want to hang the creation above your bed, or study table, or near a door space, then create a macrame wall accordingly. Every texture and every knot allows you to design something that caters to your mood. And let Macrame Cords Pari hold what matters the most.
Small Steps are the beginning for bold dreams. You can discover the twisted, braided, and single-stranded cords in more than 40 colours at Macrame Cords Pari!