How to Add Fringe and Tassels to Your Macrame Designs
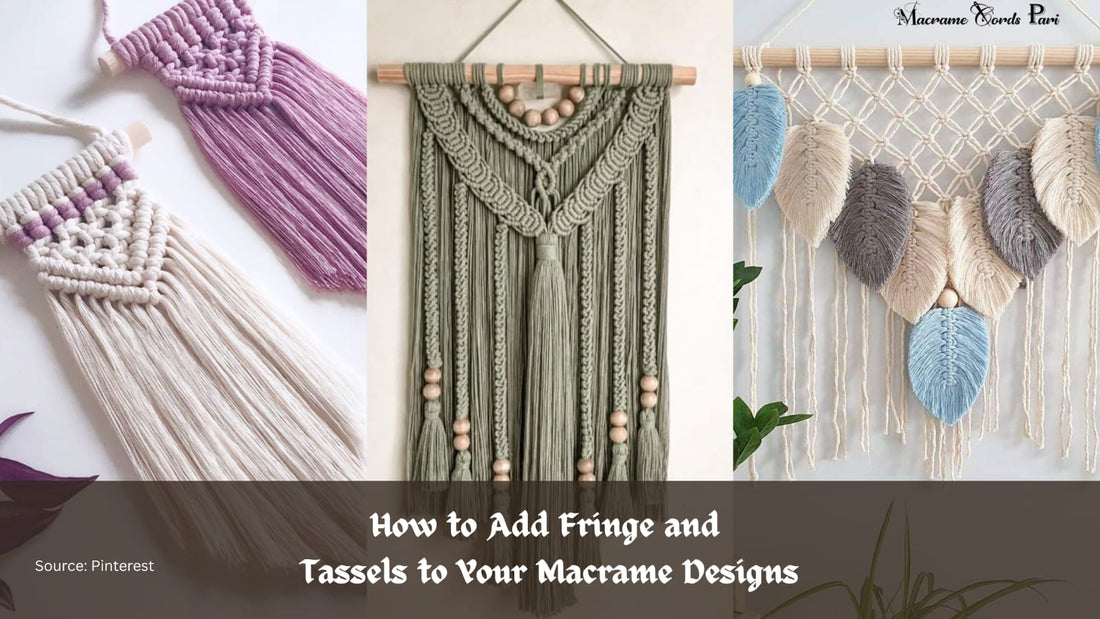
Details are not part of the macrame project, but are the one that creates the big picture!
Soft fringes and tassels are the finest part of macrame products. The flowing texture and rhythmic knots of macrame are, nevertheless, the most vibrant aspect. Do you know what makes the macrame piece stand out is the beautiful fringes and tassels. The delicacy is something that nurtures the beauty of the macrame. Do you think intricate is directly proportional to the extraordinary elegance of home decor? Yes, there is no doubt in it.
Whether you are making a wall hanging, a bag, or a plant hanger, the art of finishing using fringes and tassels is what makes it more adorable. Though redefining fringes and tassels continuously brings a little extra beauty to the macrame products. However, it can be time-consuming but simply alluring. Macrame is not a cake walk, but not even less than a knotting process. But finishing is something that makes it breathtaking.
In this blog, you will understand the best way to craft fringes and tassels. After understanding the art, you will know what kind of cords are used, how to shape them neatly, and creative steps to bring a signature macrame product.
Majestic Magic of Fringes and Tassels
Fringe and tassels are not just accessories; they’re storytellers. Fringe gives your macrame a flowy, bohemian edge, while tassels can create drama, formality, or playful charm depending on how they’re styled. When done right, they help transition the eye across your piece and give it a feeling of completeness.
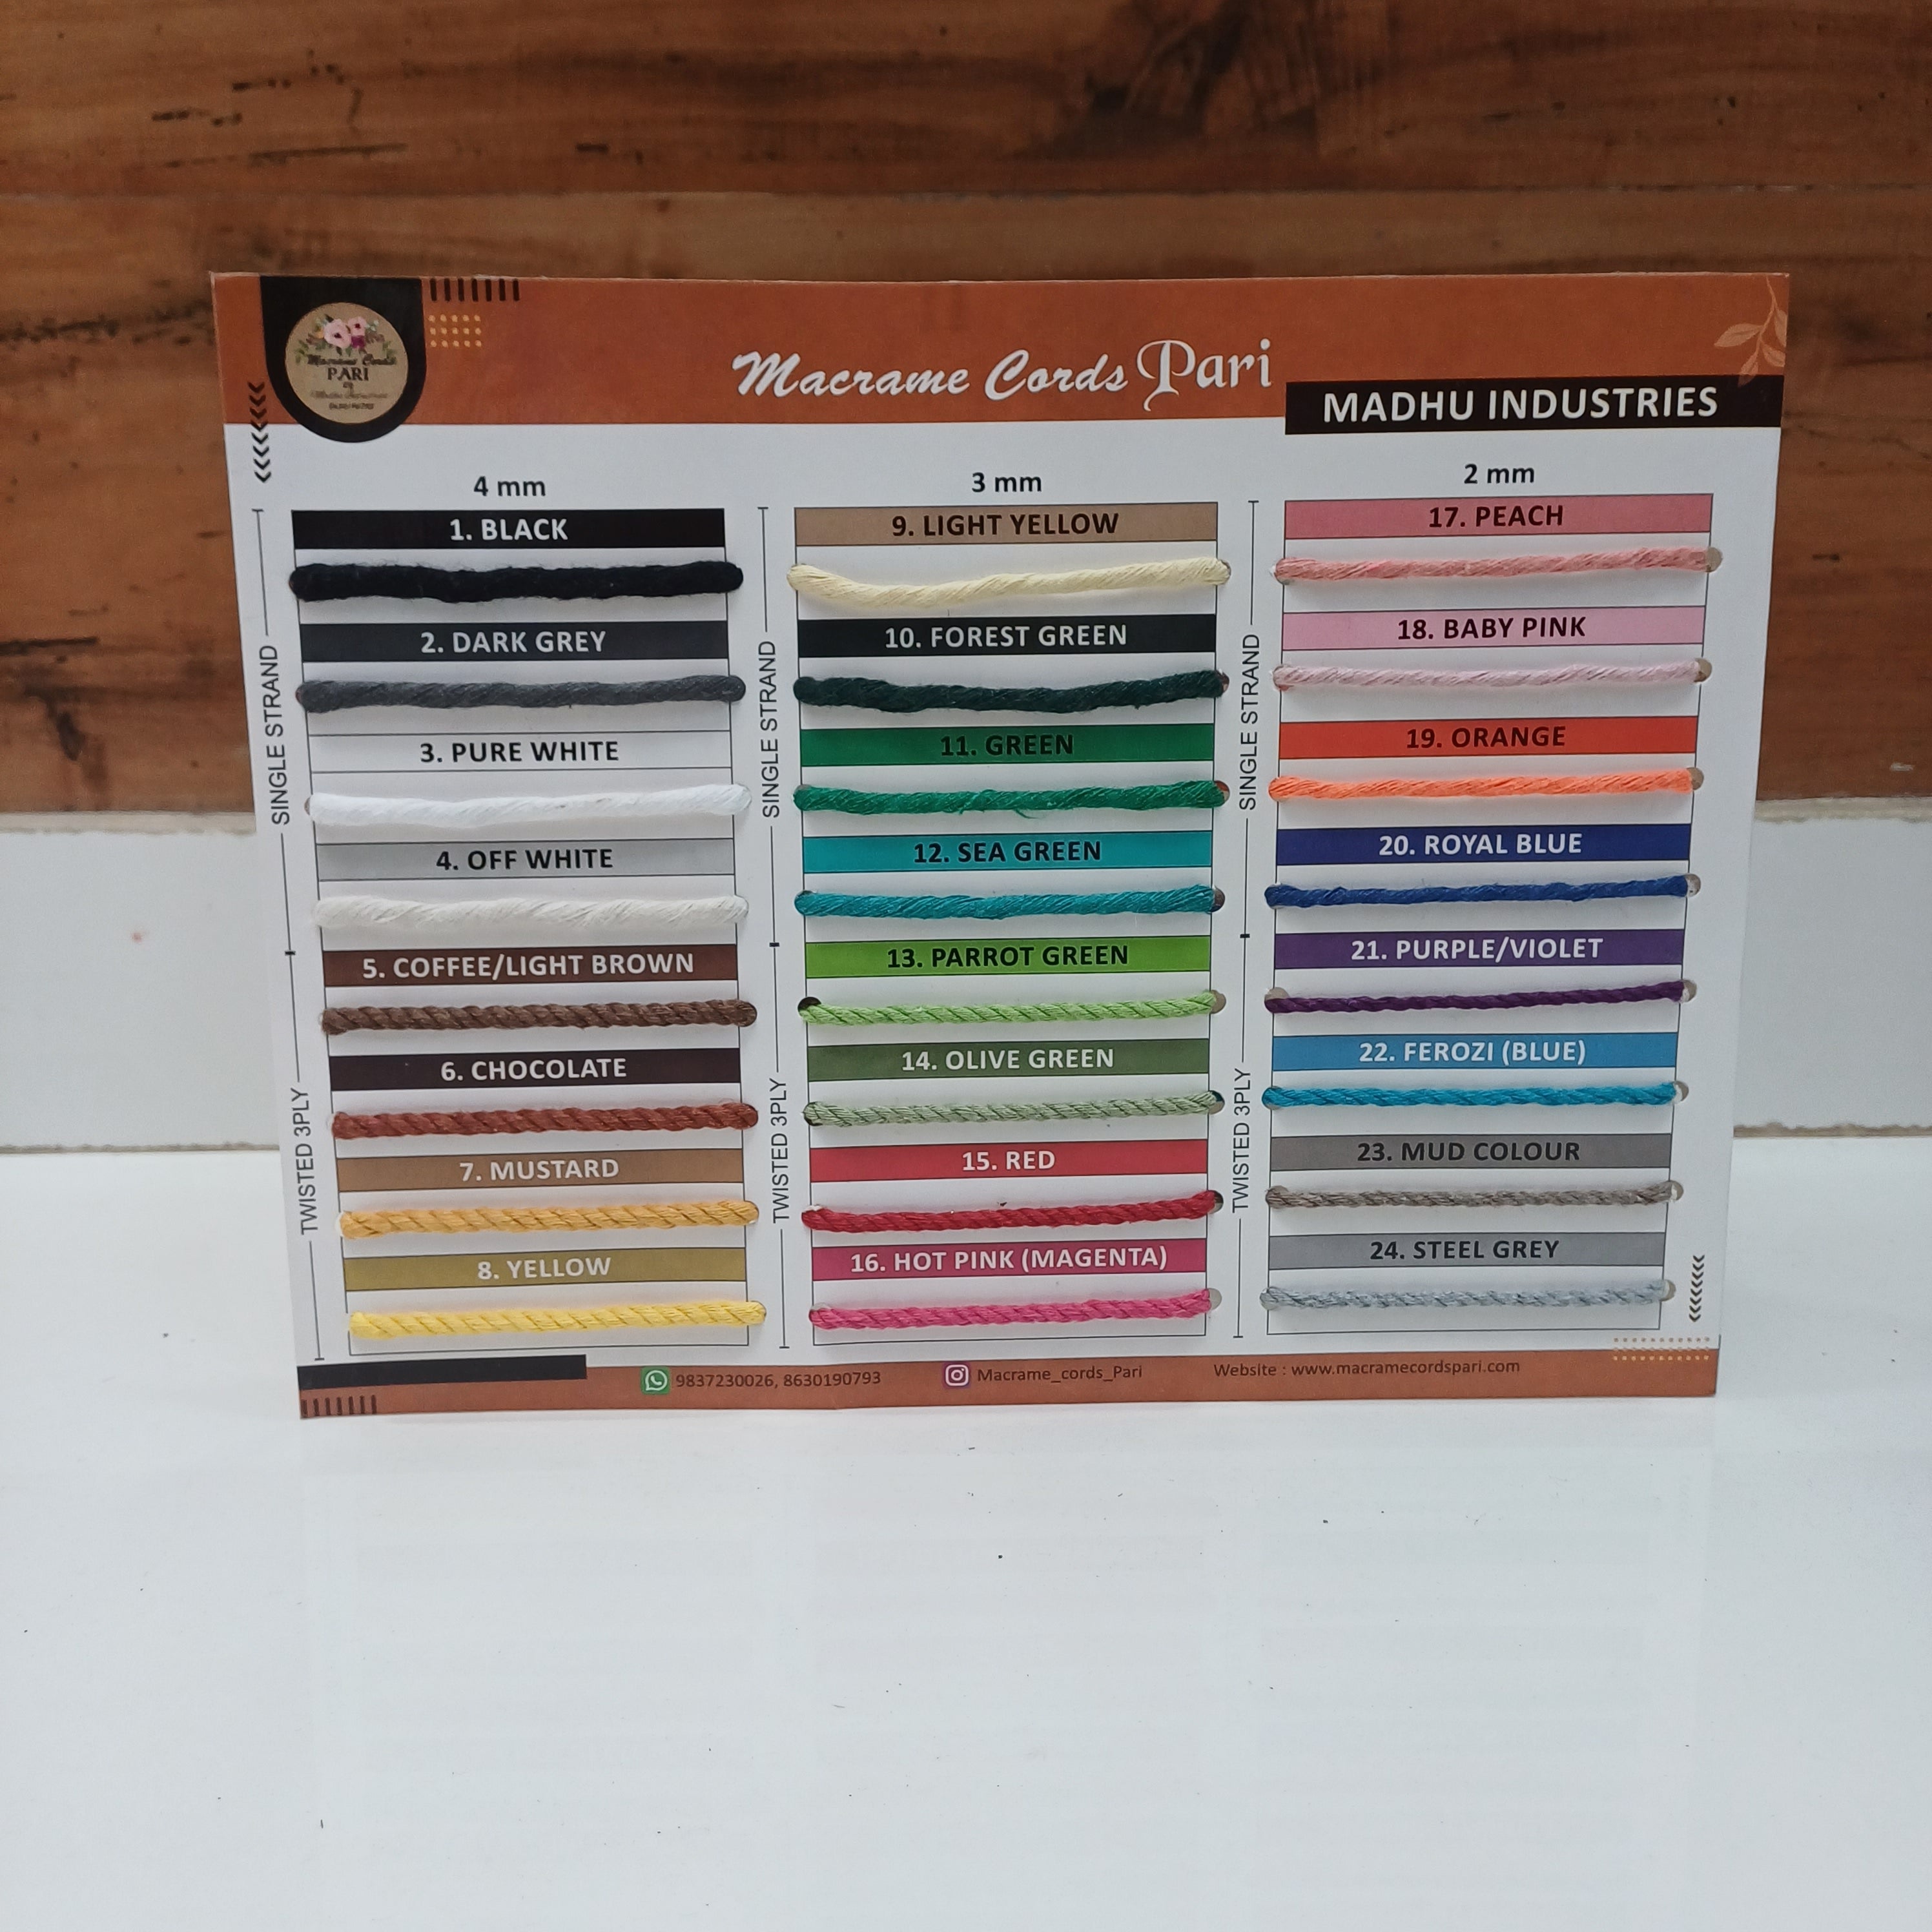
Most artists use 3mm or 4mm single-strand cords for these elements. Single-strand cords are soft, easy to brush out, and create a more natural-looking fringe. Braided or twisted cords, while beautiful, don't fray as easily and are usually not ideal for a fine, wispy fringe unless untwisted thoroughly.
Step-by-Step Guide to Creating the Perfect Fringe
Step 1: Choosing the Right Cord
The nature of the cord used makes an immense difference in the fringe action. Cotton cords are preferred because of their softness and tendency to fray. Go for a single-strand cotton of 3mm or 4mm, similar in color to the leading design, or one of a contrasting color if you want to highlight contrast. Cut cords longer than you need, because fringe shortens quite a lot when brushed out and trimmed. It is much better to take some off later than to have time wasted lamenting that they are too short.
Step 2: Attach Your Fringe Cords
For adding a fringe, you will have to attach cords at the bottom of the project. Make sure you use the Lark’s Head Knots. In addition, you can simply fold the cord and attach it through loops at the base of your knots, depending on your project. If you’re handcrafting a wall hanging or the bottom of a coaster, add cords in clusters so you can get fuller fringe. Once attached, gently tug each cord to ensure it’s even and secure.
Step 3: Brush It Out
The artisan should use a pet brush or a fine-tooth comb to slowly tease out each strand. Always brush downward on a flat surface, starting at the ends and moving upward. It prevents tangles and helps the fringe lie smoothly. Be patient while brushing out cords into a perfect fringe takes time. Don’t rush or pull too hard, as that can stretch or distort your design.
Step 4: Shape Your Fringe
Shaping fringes is the most satisfying part of macrame art. You should lay your project flat and use sharp fabric scissors to trim the fringe into your desired shape, straight across, diagonal, V-shape, or layered. Some makers use painter’s tape as a guide to get clean lines. Ensure that you don’t cut too much at once. Always take small snips and step back often to assess. Symmetry matters the most in art!
How to Make and Attach Tassels
Macrame tassels tend to bring volume, movement, and personality to the macrame pieces. They are perfect and ideal for wall hangings, keychains, earrings, and even bag handles made with macrame.
Step 1: Wrap and Cut
Wrap the macrame cord around a sturdy object like a book or cardboard several times, atleast 15 to 20 rounds for a medium tassel. Afterwards, slide it off and tie a short cord around the top. About 1.5 cm from the loop, it creates a “head” for the tassel. Make sure that you cut the loops at the bottom, and then spread the strands evenly.
Step 2: Brush and Trim
The tassels should be brushed gently to remove tangles just like the fringes. Then, make them soft and flowy. Trim the ends straight or curved, depending on the style of macrame product. For longer tassels with more body, use 4mm single-strand cord. For dainty tassels, you should go with 2mm or 3mm cords.
Step 3: Attach it to Design
The artisan can knot tassels into the ends of the macrame pieces. Some artisans love to use wooden beads or copper crimps for covering the knot area for a cleaner look. Tassels can also be added between knots as decorative spacers or from the ends of a dowel for added flow.
Tie, Trim, and Transform Home Space
Fringes and tassels are the empowerment to finishing touch as they are the illuminating soul of your macrame story. These graceful detailing transforms the epic handmade pieces into art that feels personal, poetic, and immensely alive. Whether you’re brushing out a flowy fringe for a decor hanging or adding a pair of delicate tassels to a boho bag, these elements are the gifted harmony and character to your craft.
With the right cords soft 2mm for fine tassels or 4mm for bold, elegant finish and a soothing patience, you can shape each strand with delicacy and charm. The beauty lies in the efficiency and effort you add: every knot, every trimmed edge, every brushed fibre adds gratitude and handmade magic.
So the next time your macrame piece feels unfinished, pause and ask Could a fringe speak here? Could a tassel whisper a little more wonder? Let your hands respect the flow, and let the art unfurl vibrantly with Macrame Cords Pari!
The effectiveness of a thread is a mixture of art and dedication. Macrame Cords Pari supports your legacy, get yourself accounted with the macrame lineage.
